How to Use Add Subtitle: Your Quick Start Guide
Ready to start now? Open your browser, search “Add Subtitle.ai”, and follow the guide below to learn how it works in minutes.
✨Recommended browsers: Chrome, Edge
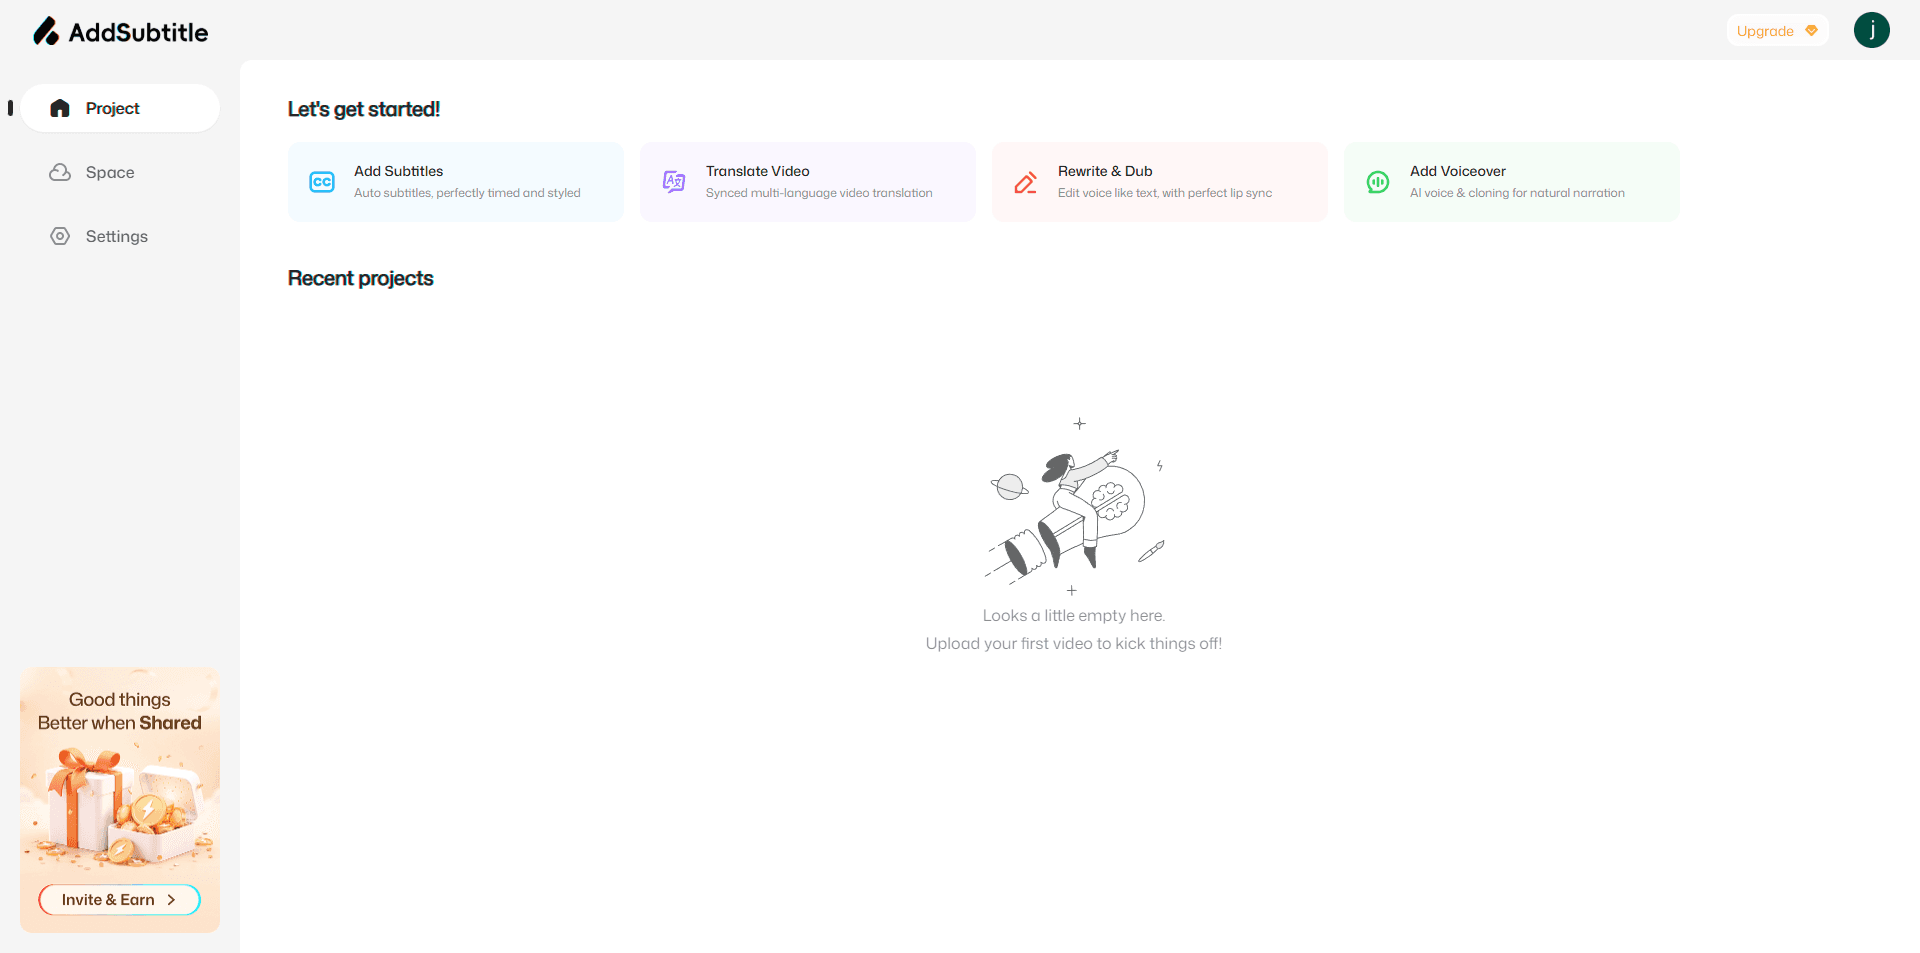
Projects Page
On the Projects page, you can choose the features you need and start working right away. This is where you’ll find quick access to Add Subtitle’s four core capabilities: Add Subtitles, Video Translation, Dubbing & Script Rewrite, and Add Voiceover.
You can also track the progress of your current project at any time and manage all your past projects in one place.
Space Page
In Space, you can manage your entire content library in one place—including exported videos that haven’t been downloaded yet, previously uploaded assets, saved voices detected from past videos, and 50+ built-in AI voices in Add Subtitle.
Open it anytime to quickly reuse what you’ve already created and keep your workflow moving.
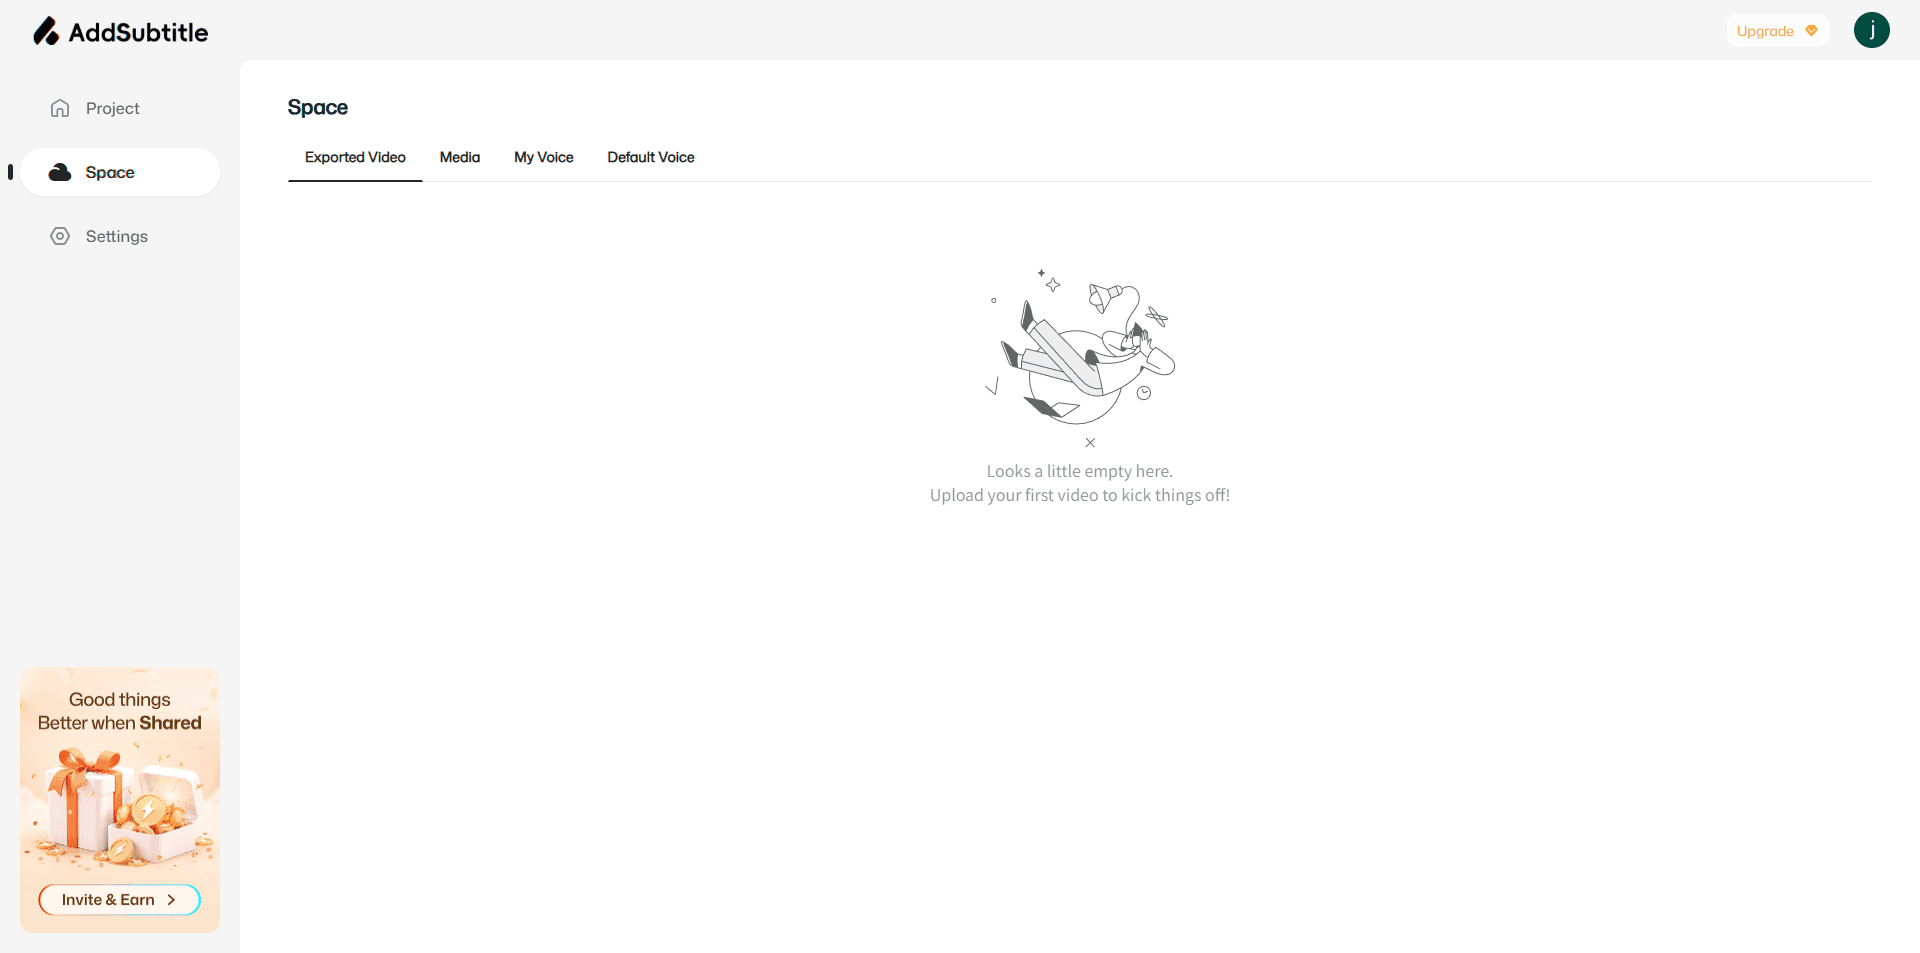
Inside Space, you’ll find:
Exported Files
View and manage all successfully exported videos. Download or share them instantly, or reuse them in future projects.
Assets
Store and organize previously uploaded source videos, so you can pull them into new projects anytime for faster creation and better reuse.
My Voices
Automatically saves voice materials you’ve used in past videos. Reuse them with one click to keep your style consistent across content.
Default Voices
Access 50+ high-quality AI voices across multiple languages and vocal styles. Perfect for dubbing videos for e-commerce, tutorials, short dramas, narration, voiceover explainers, and more.
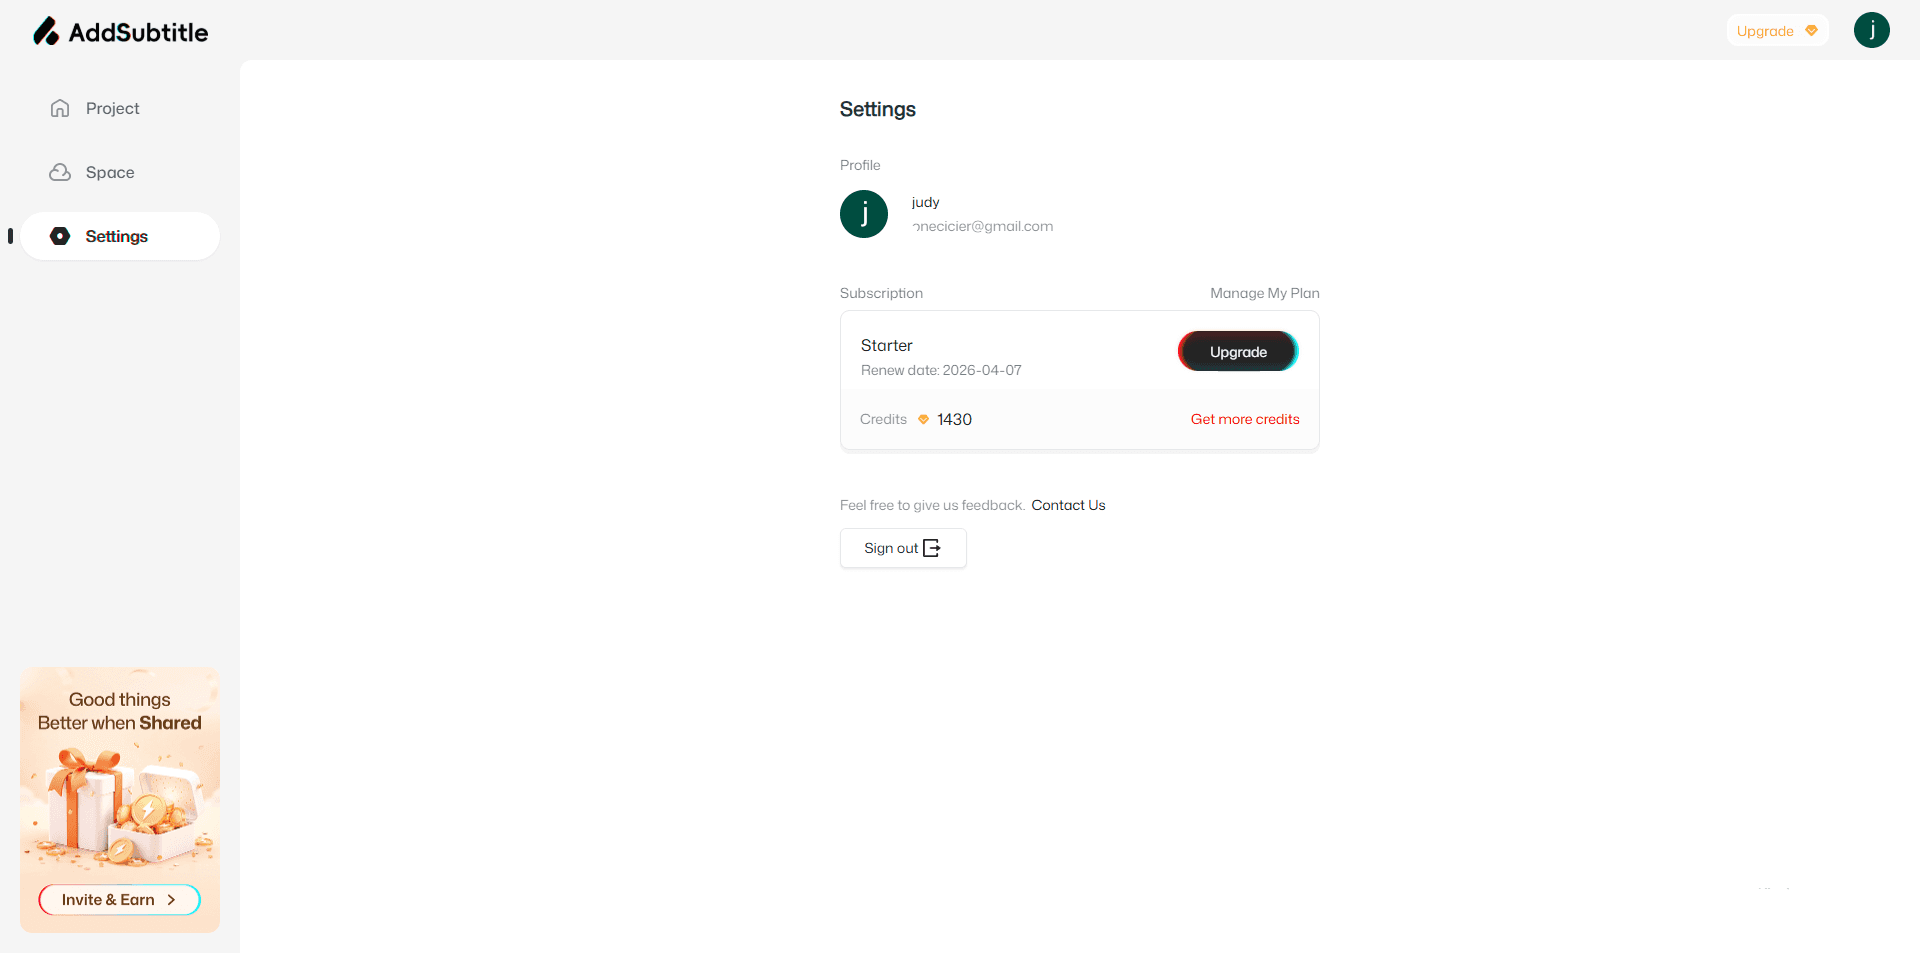
Settings Page
Go to Settings to manage your account. You can upload a profile photo, update your account name, and complete your profile in just a few clicks.
You can also jump directly to the upgrade entry to choose a plan that fits your needs and unlock a more complete Add Subtitle experience.